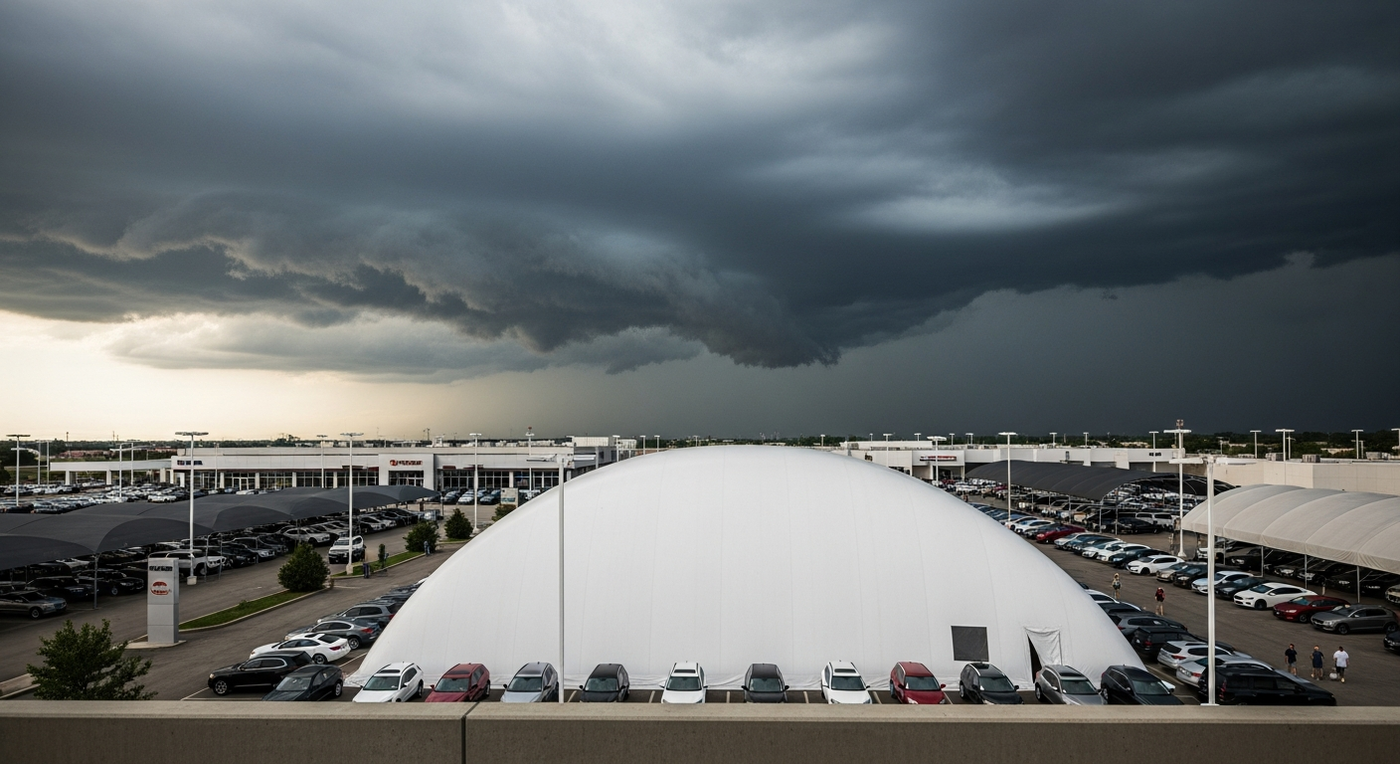
Why End-of-Season Inspection Actually Matters
Most hail covers fail gradually. A small tear in August becomes a gaping hole by next May. Foam that feels slightly mushy in September offers almost no protection by the time spring storms arrive. The end of hail season—roughly September through early October across most of the central U.S.—gives you a narrow window to assess damage while you still remember how the cover performed and before you fold it into storage where problems compound.
Storing a compromised cover doesn't just waste space. Moisture trapped in degraded foam breeds mold. Small tears widen along fold lines. What could have been a relatively inexpensive foam panel replacement in September becomes a significantly costlier full cover purchase in April when you're scrambling before storm season.